
How to Build a Custom Wooden Sink for Your RV or Tiny Home
Building a farmer's sink from scratch....
TINY HOME LIVING
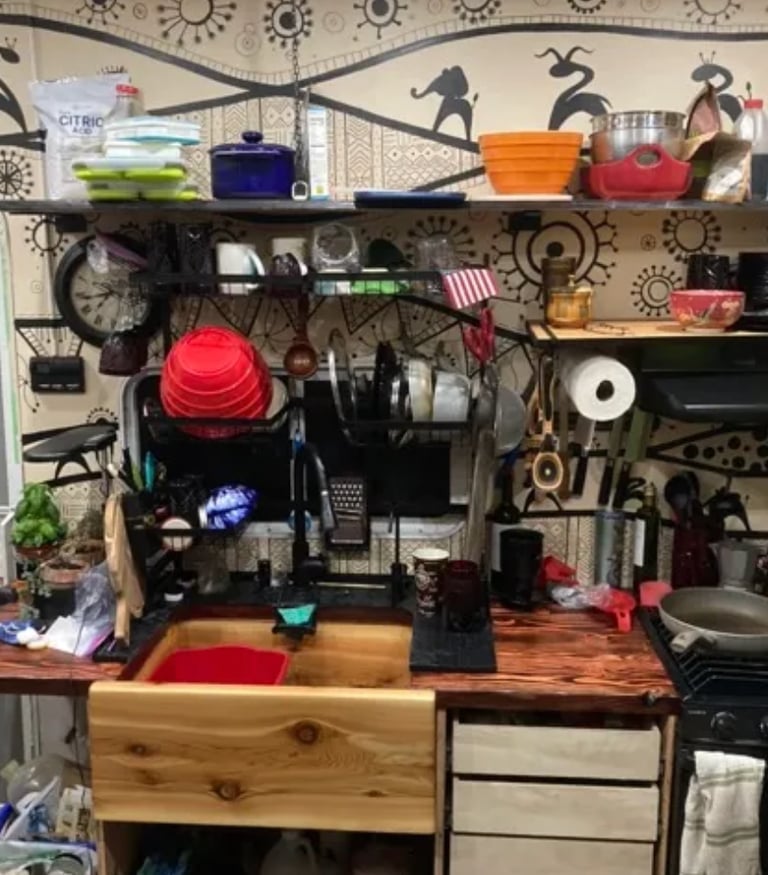
In the renovation of our beloved 5th wheel tiny home (which we affectionately call the “5th Element”), Joy Anne was really set on having a beautiful farmhouse sink. We looked around at various options but never really found one that we liked—nor one that fit my naturally frugal Scottish nature. 🙂 So, I decided to take matters into my own hands and make one out of high-quality wood rather than buying an overpriced one. I had already planned to create a hardy wooden countertop and chose to use live edge douglas fir because it’s both hard and relatively inexpensive compared to other options. I glued up five true 2×6 boards, which I then ran through the planer to achieve a uniform thickness of 1 ½”. After sanding them down, I burned the surface with a torch to bring out the strong grain pattern in the beautiful wood. Finally, adding a rich cherry stain really made the contrast dramatically pop!
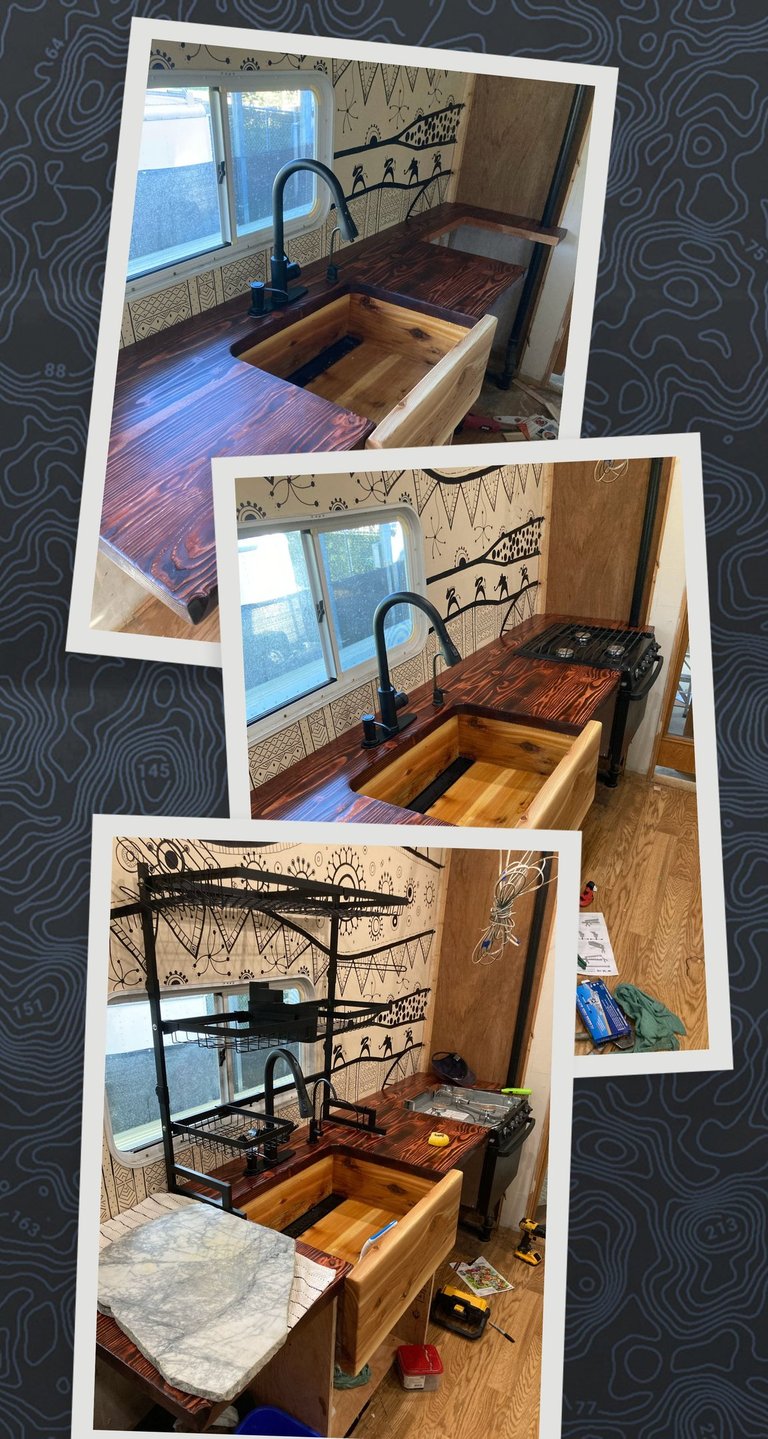
So, with the darker brown/black countertop already in place, I decided to go with some 2” thick red cedar for crafting the sink. I have to admit that I deliberated for quite a while about just how to approach this project. My main concern was whether the wood would hold water effectively and how to ensure it would drain properly after use. After sketching out my plans, I proceeded to make all the necessary pieces—the bottom, sides, back, and a slightly larger front piece. The bottom had to slope gently toward the back, so I cut the sides at a slight angle and attached the bottom underneath them. In retrospect, a ½ inch difference from front to back wasn’t enough; I’d probably increase it to an inch next time for significantly better drainage overall!
After carefully gluing and screwing the frame together, I decided to put fiberglass all over the bottom with resin to be absolutely sure that if any water seeped through, it wouldn’t get past the wood. This was probably a bit of overkill since the resin on the inside surface alone was more than enough to hold the water effectively and really shouldn’t be sitting in the seams at all. Spreading the resin on the inside turned out to be perhaps the most challenging part of this entire project since I had to apply each side separately, and unfortunately, drips inevitably formed during application. Most people won’t see these inconsistencies when they look at it, but it is still a bit disappointing for me personally as a craftsman.
For the drain, I used a shower drain that spans the full 24” width along the back. Frankly, this was to avoid needing to slope the bottom from the sides as well as the front since the drain (normally embedded in concrete) is molded to slope to the middle. There’s a removable cover plate and drain screen that makes it easy to clean out any debris that is washed down.
Overall, I like how it turned out and a few months in, it’s holding up great and I love using it.


© 2026 Simply For Everyone | Joy Anne & Jefferson | All Rights Reserved "
Red. Yellow. Blue. — Three colors. Every possibility."


Step into a space of breathing creativity — all who dream are welcome here."
Custom commissions Welcome
Payment Plans Available